
Kiosk Business in the Philippines: Build It Right, Brand It Loud, Sell Fast
Starting a kiosk is a smart way to enter retail or F&B without the cost of a full store. The secret? A tight concept, a high-traffic spot, and signage that sells in three seconds. Here’s your no-nonsense blueprint.
1) Nail the Concept (Product before props)
Trendy themes won’t save a weak product. Decide exactly what problem your kiosk solves and for whom.
- Offer: 1 hero product + 2–4 supporting items (keeps inventory simple and speeds service).
- Standards: taste/quality specs, portion sizes, and pricing psychology (₱-ending that fits your market).
- Brand voice: Filipino, Italian, street, premium—pick one and stay consistent across menu, uniforms, and signs.
2) Pick the Spot (foot traffic that matches your buyer)
Test locations before committing.
- Observe weekday vs. weekend flow and where people actually stop.
- Match the crowd to your price point (students vs. office workers vs. mall families).
- Ask about utilities, storage, waste, exhaust rules, and allowed signage heights before you sign anything.
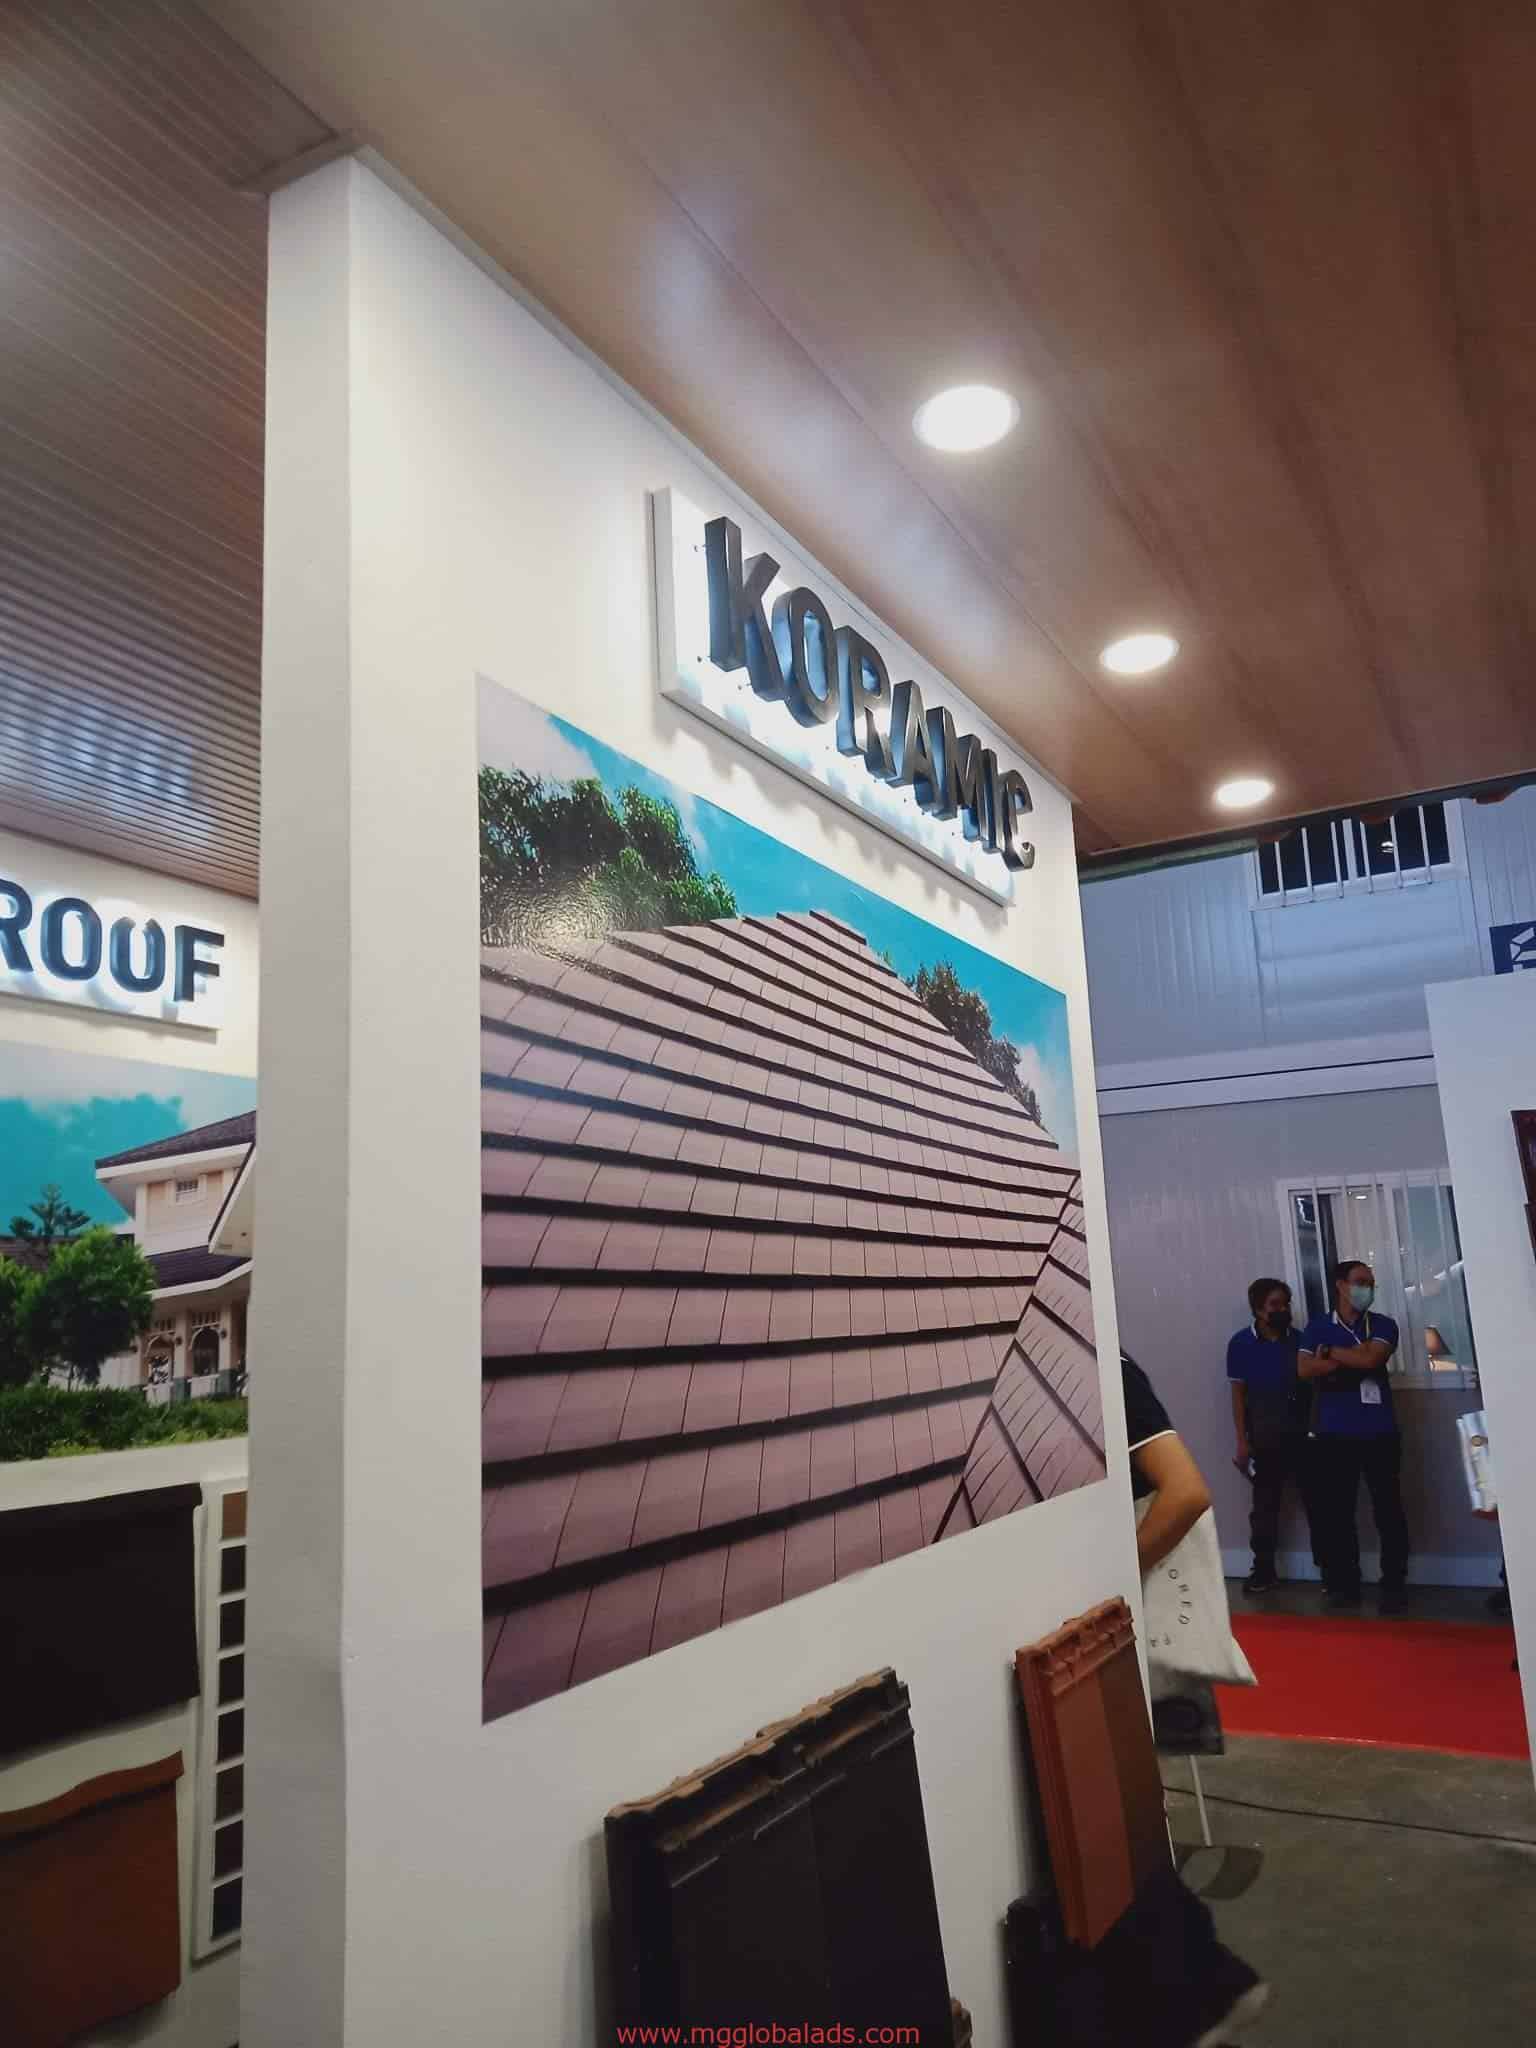
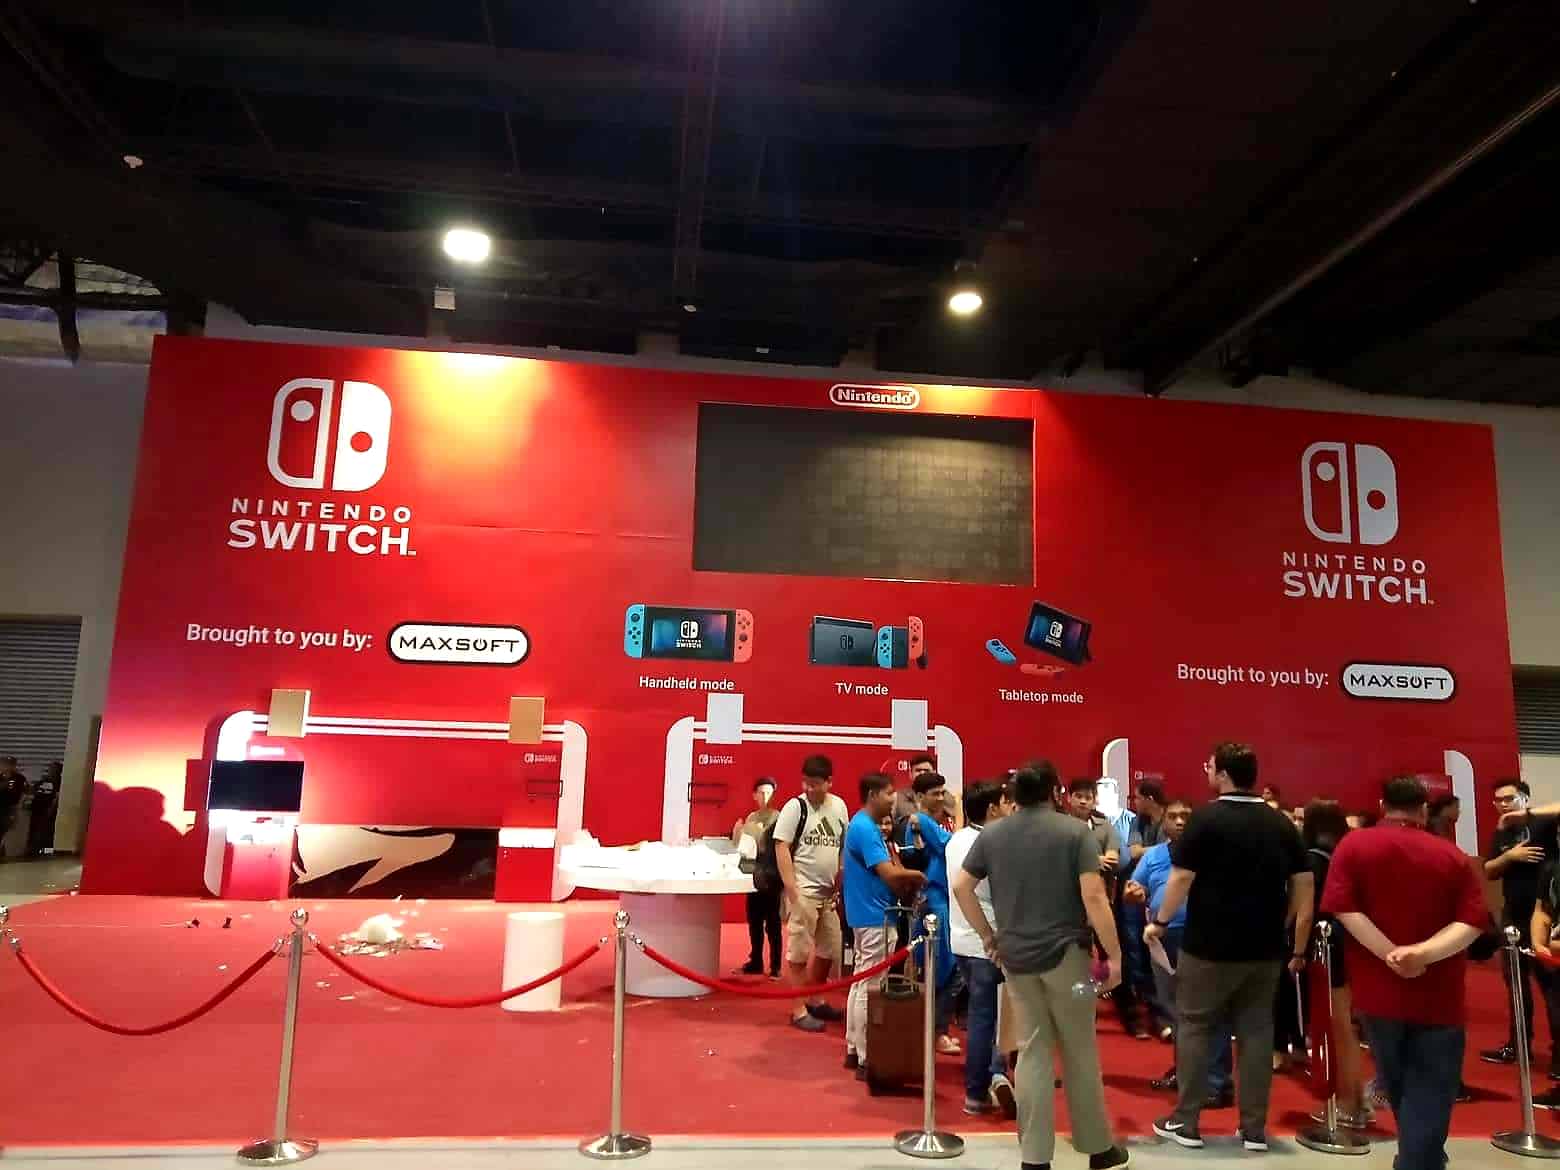
3) Design the Kiosk to Sell (signage does the heavy lifting)
A kiosk is a billboard with a cash drawer. Every surface should work for you.
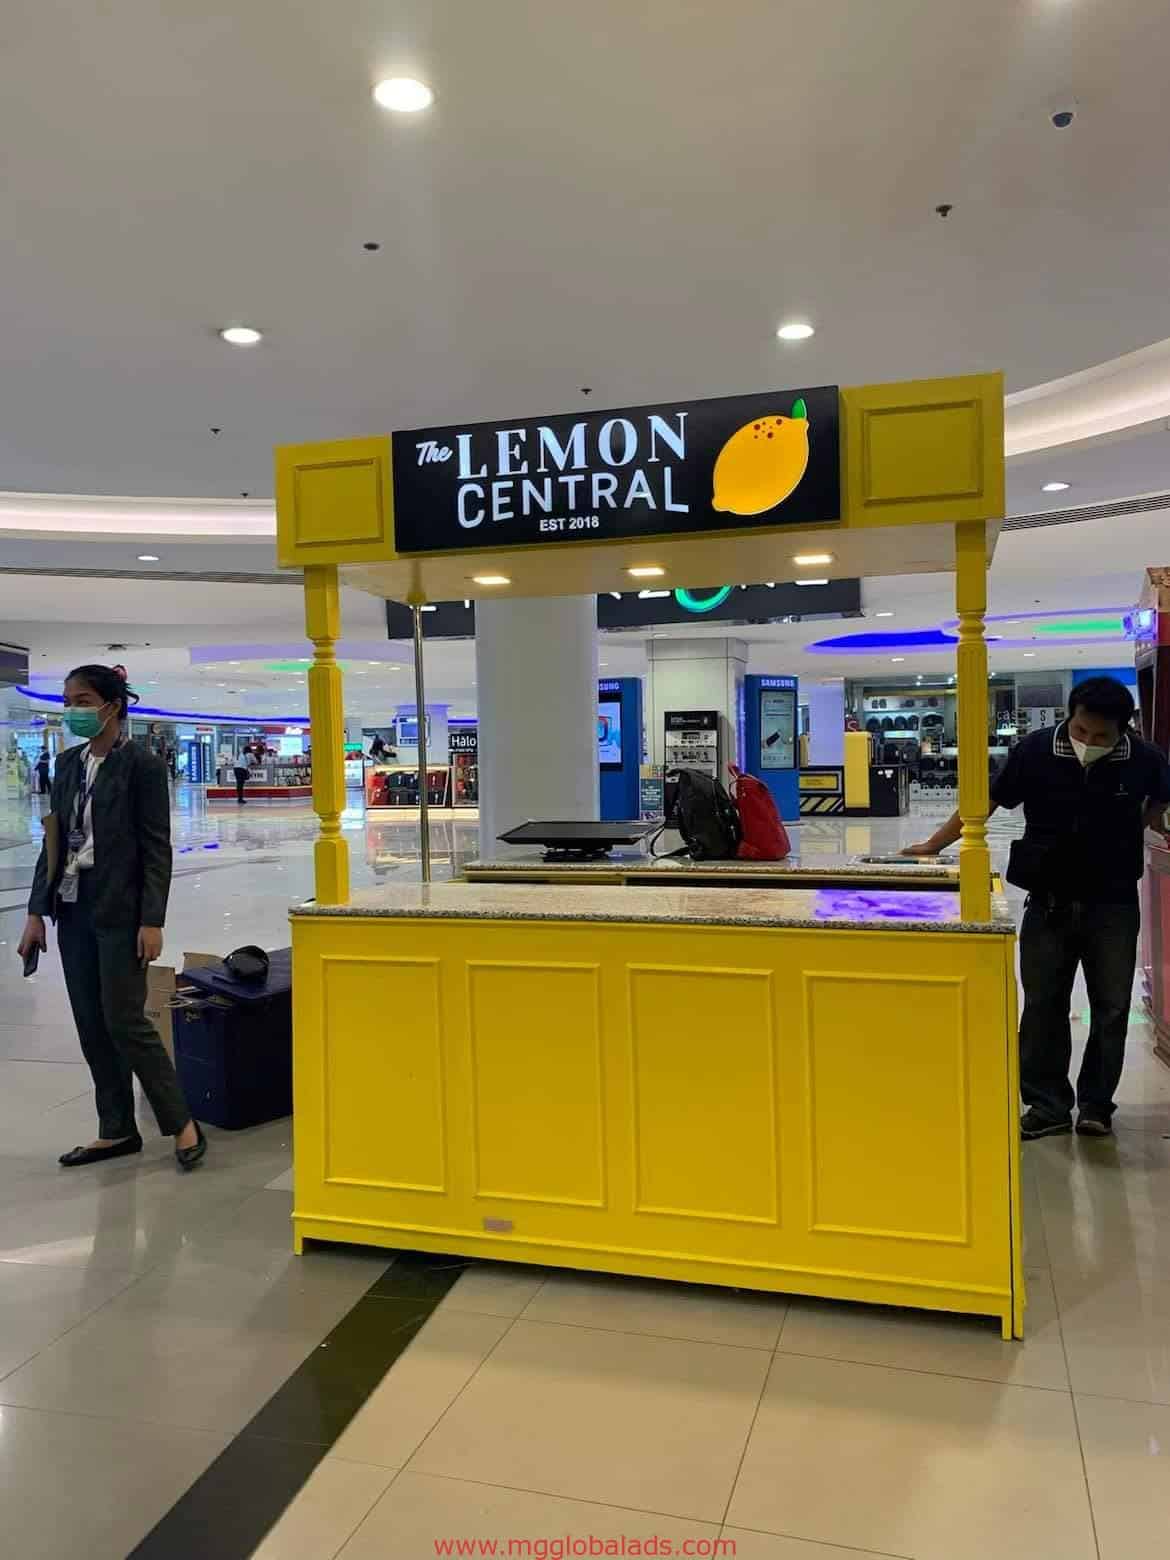
Your minimum signage kit:
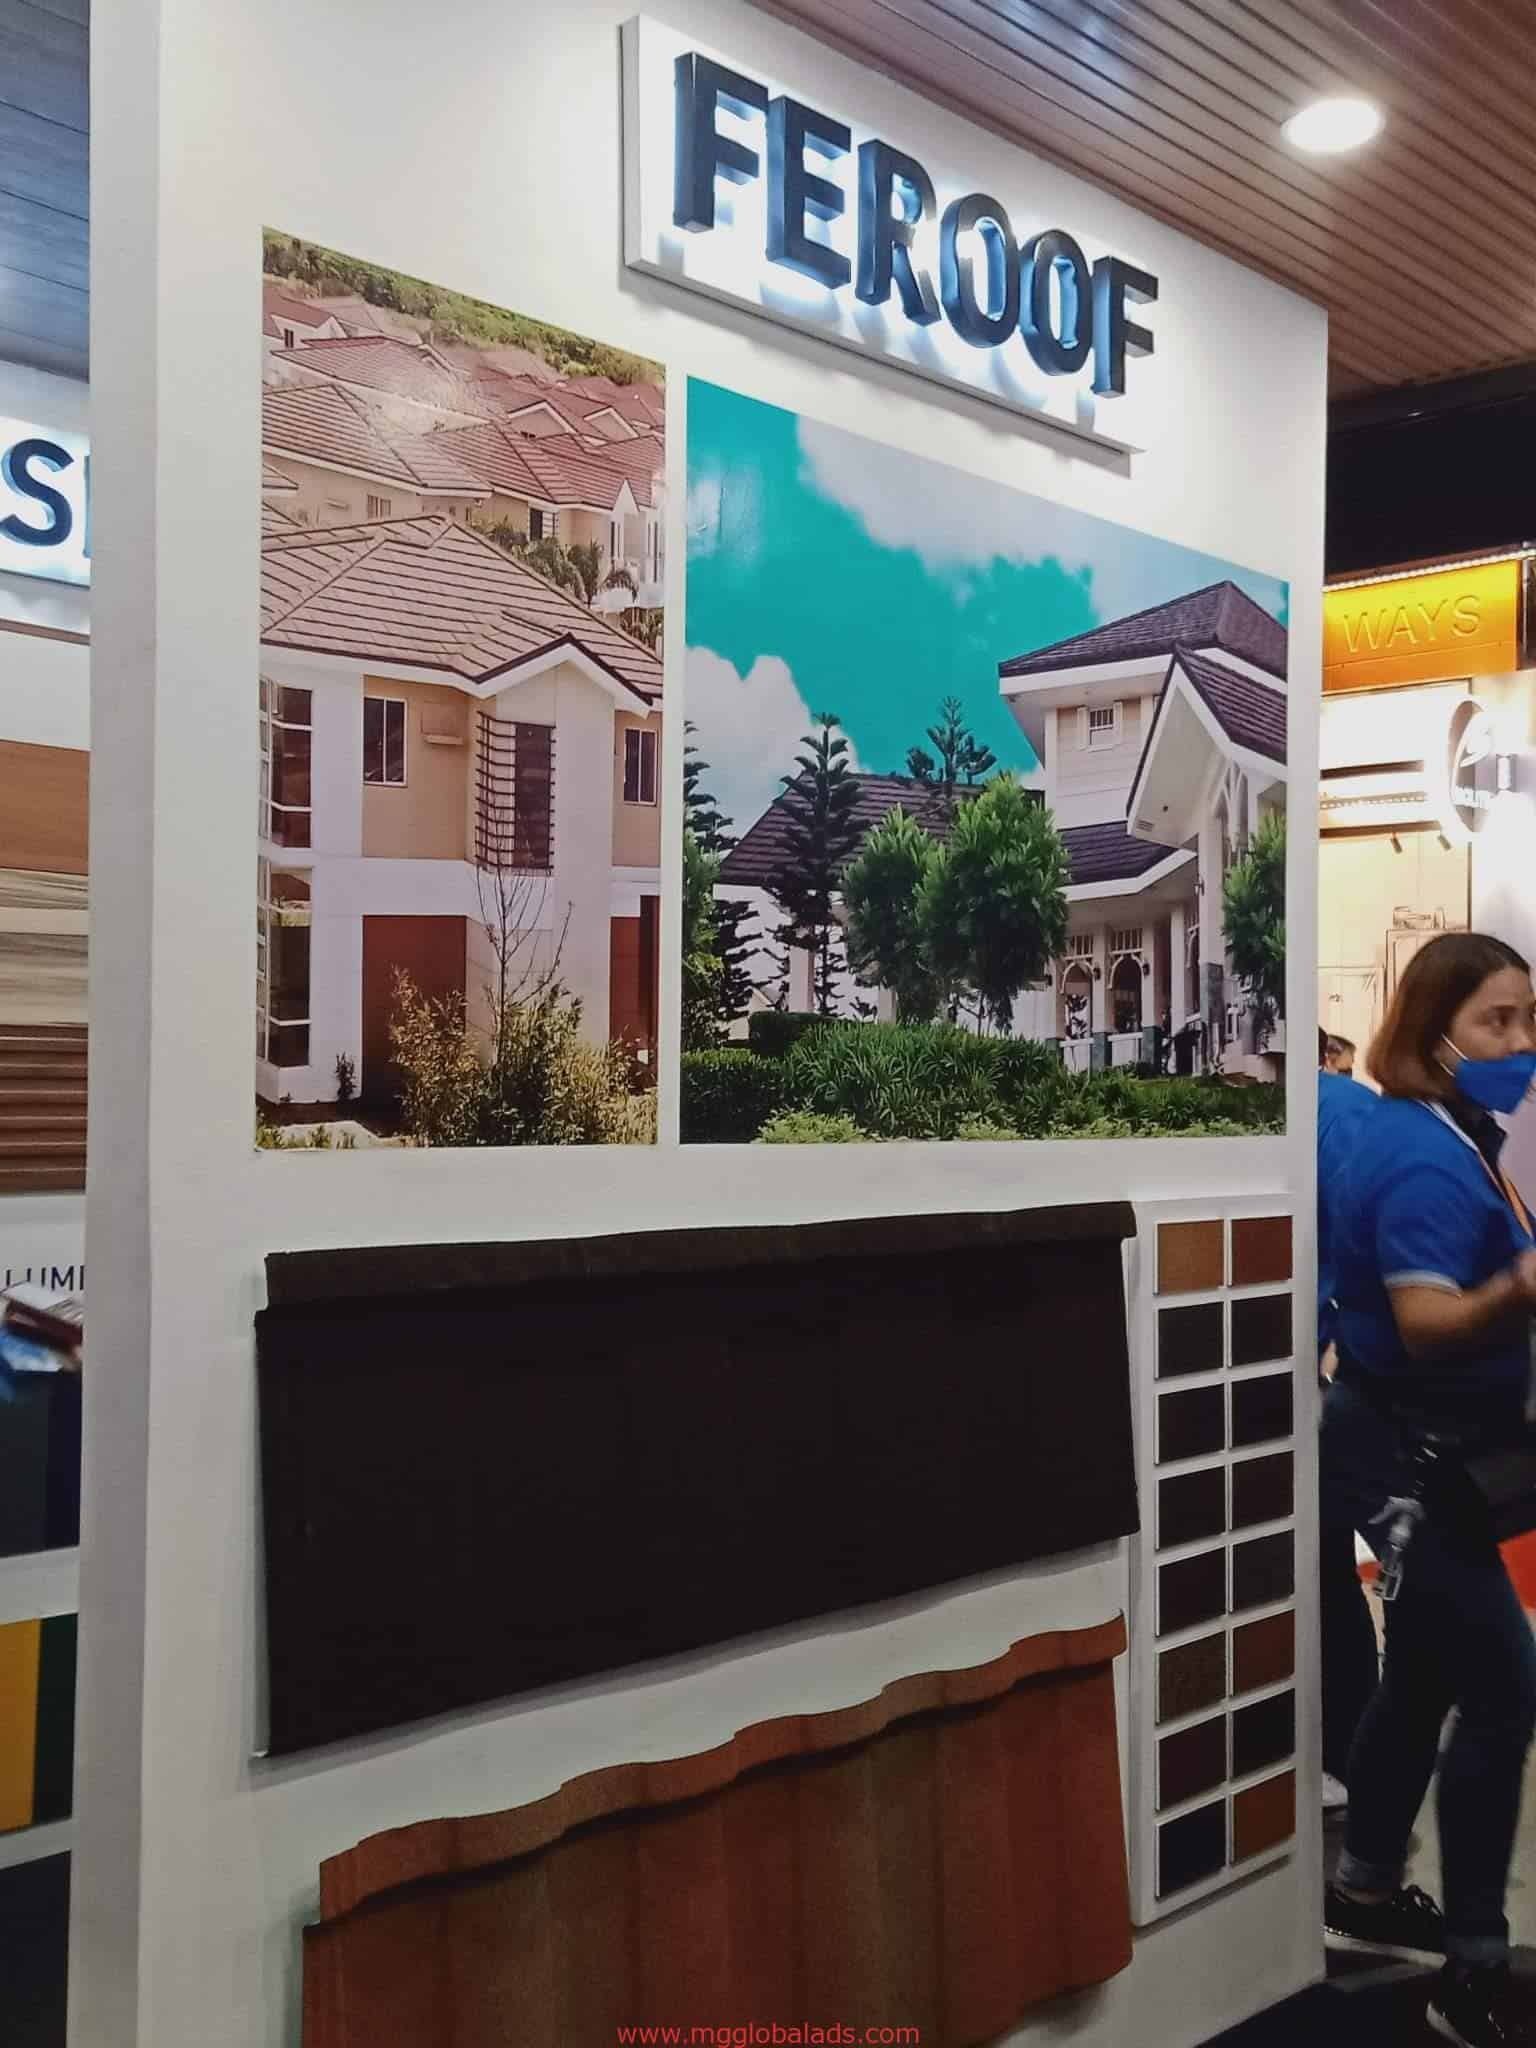
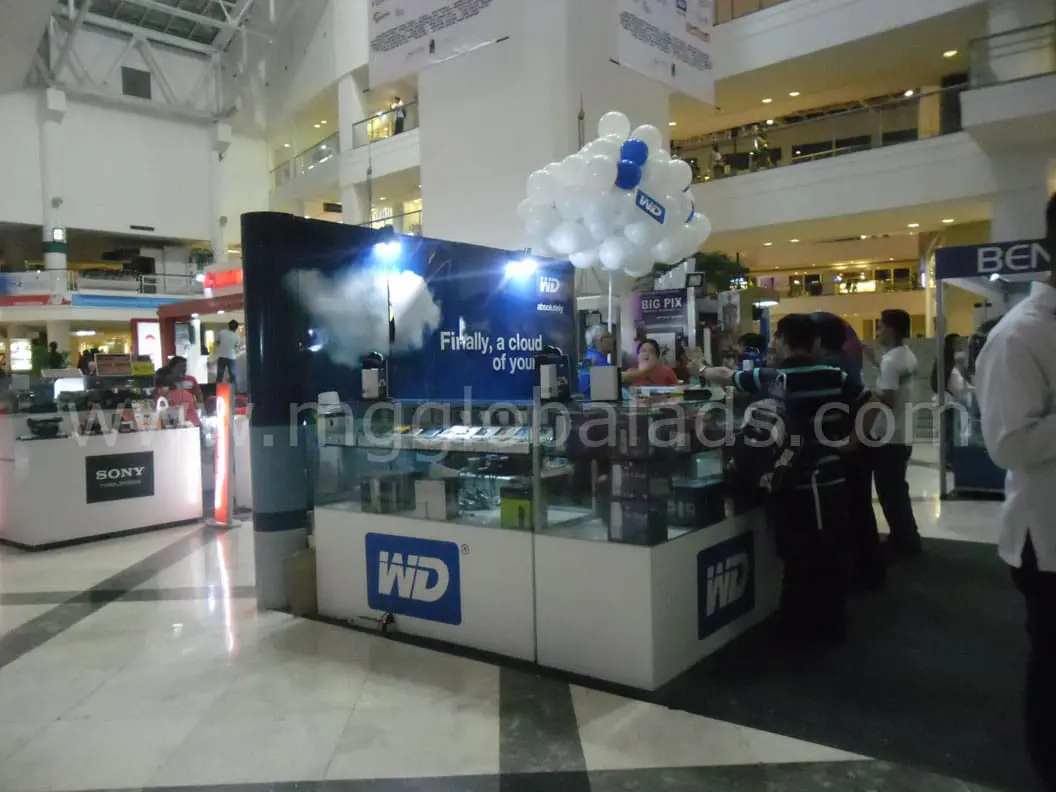
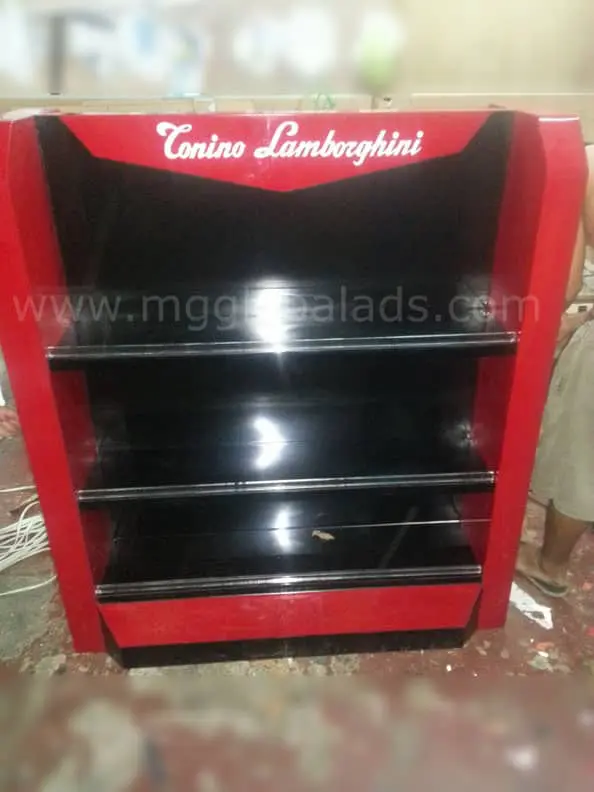
- Fascia/Logo Sign (front): lit, readable at 10–15 meters.
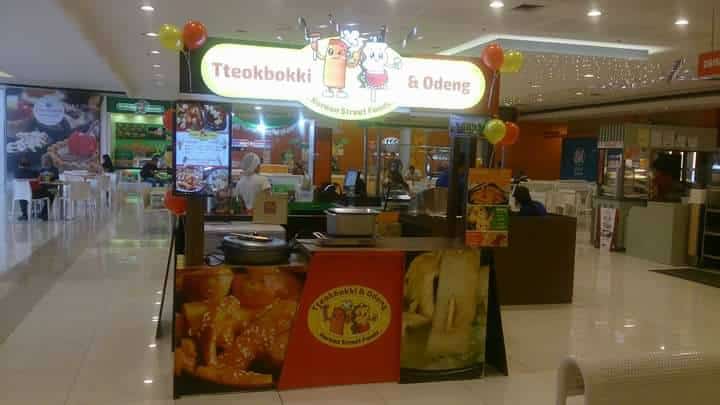
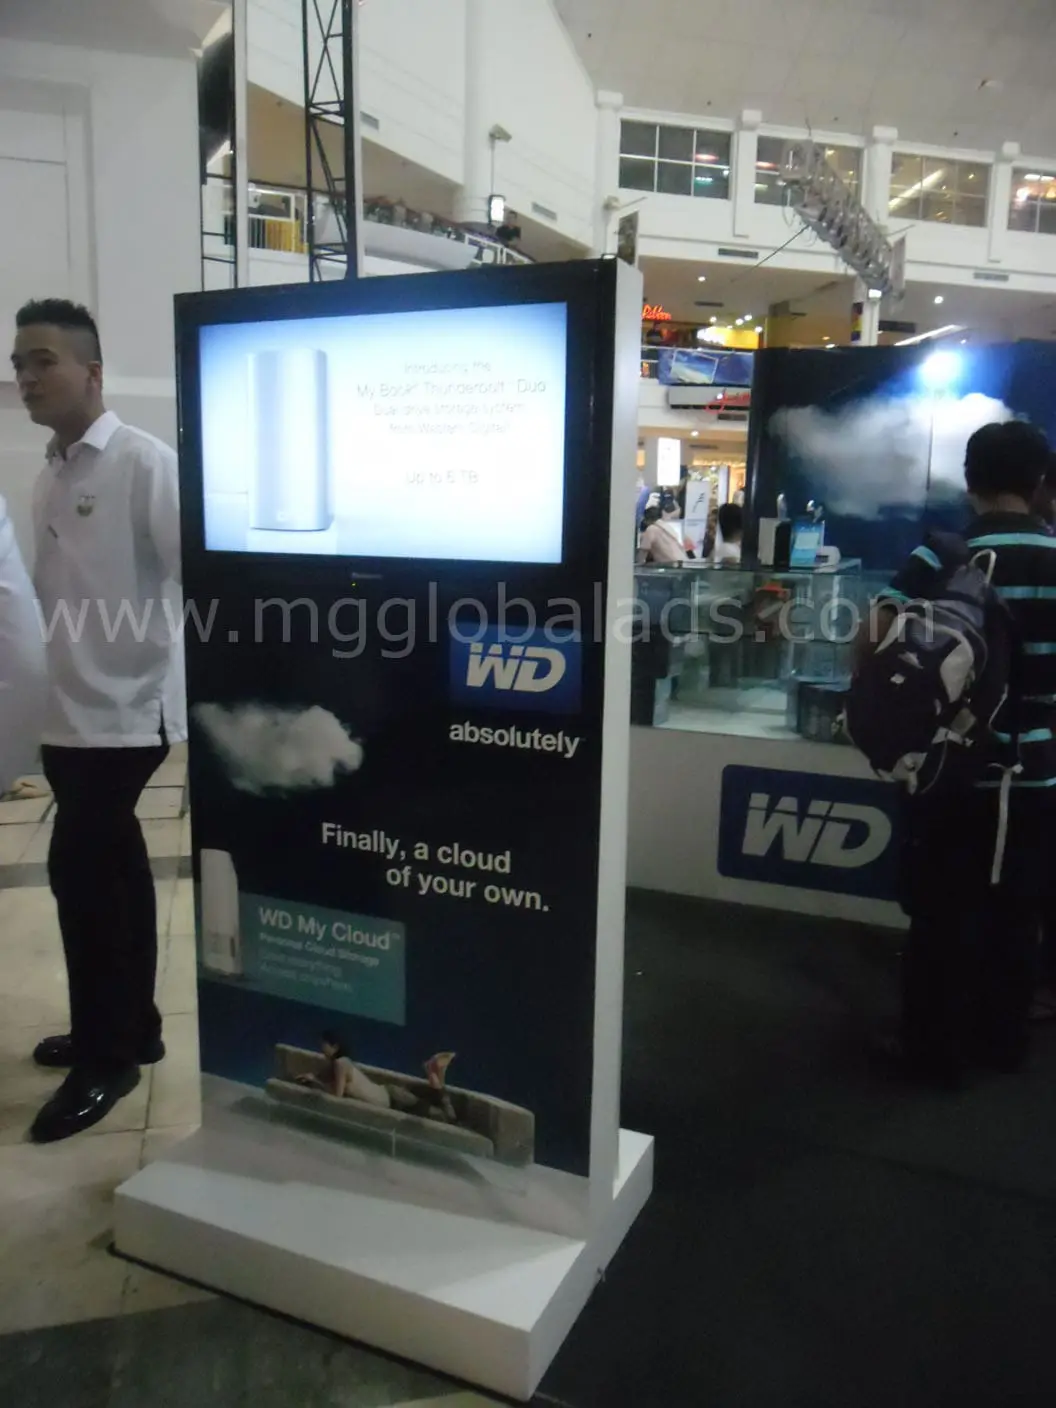
- Primary Menu Board: back-lit or digital; large prices; photos only for top sellers.
- Promotional Lightbox: one frame for seasonal or bundle offers.
- Counter Wrap / Side Panels: brand color + one short promise (“Hot. Fast. Filipino.”).
- Directional/Wayfinding (if corner or aisle): small arrows pulling traffic from the side.
- Compliance Signs: sanitary permit, BIR receipt notice, fire extinguisher markers, “No Smoking.”
3-Second Rule: a passerby should know who you are, what you sell, and a price within three seconds. If they can’t, the sign is wrong—not the customer.
Readability rule of thumb: ~1 inch letter height ≈ 3.5 feet viewing distance. If you want to be read at 35 feet, use ~10-inch letters on the main word.
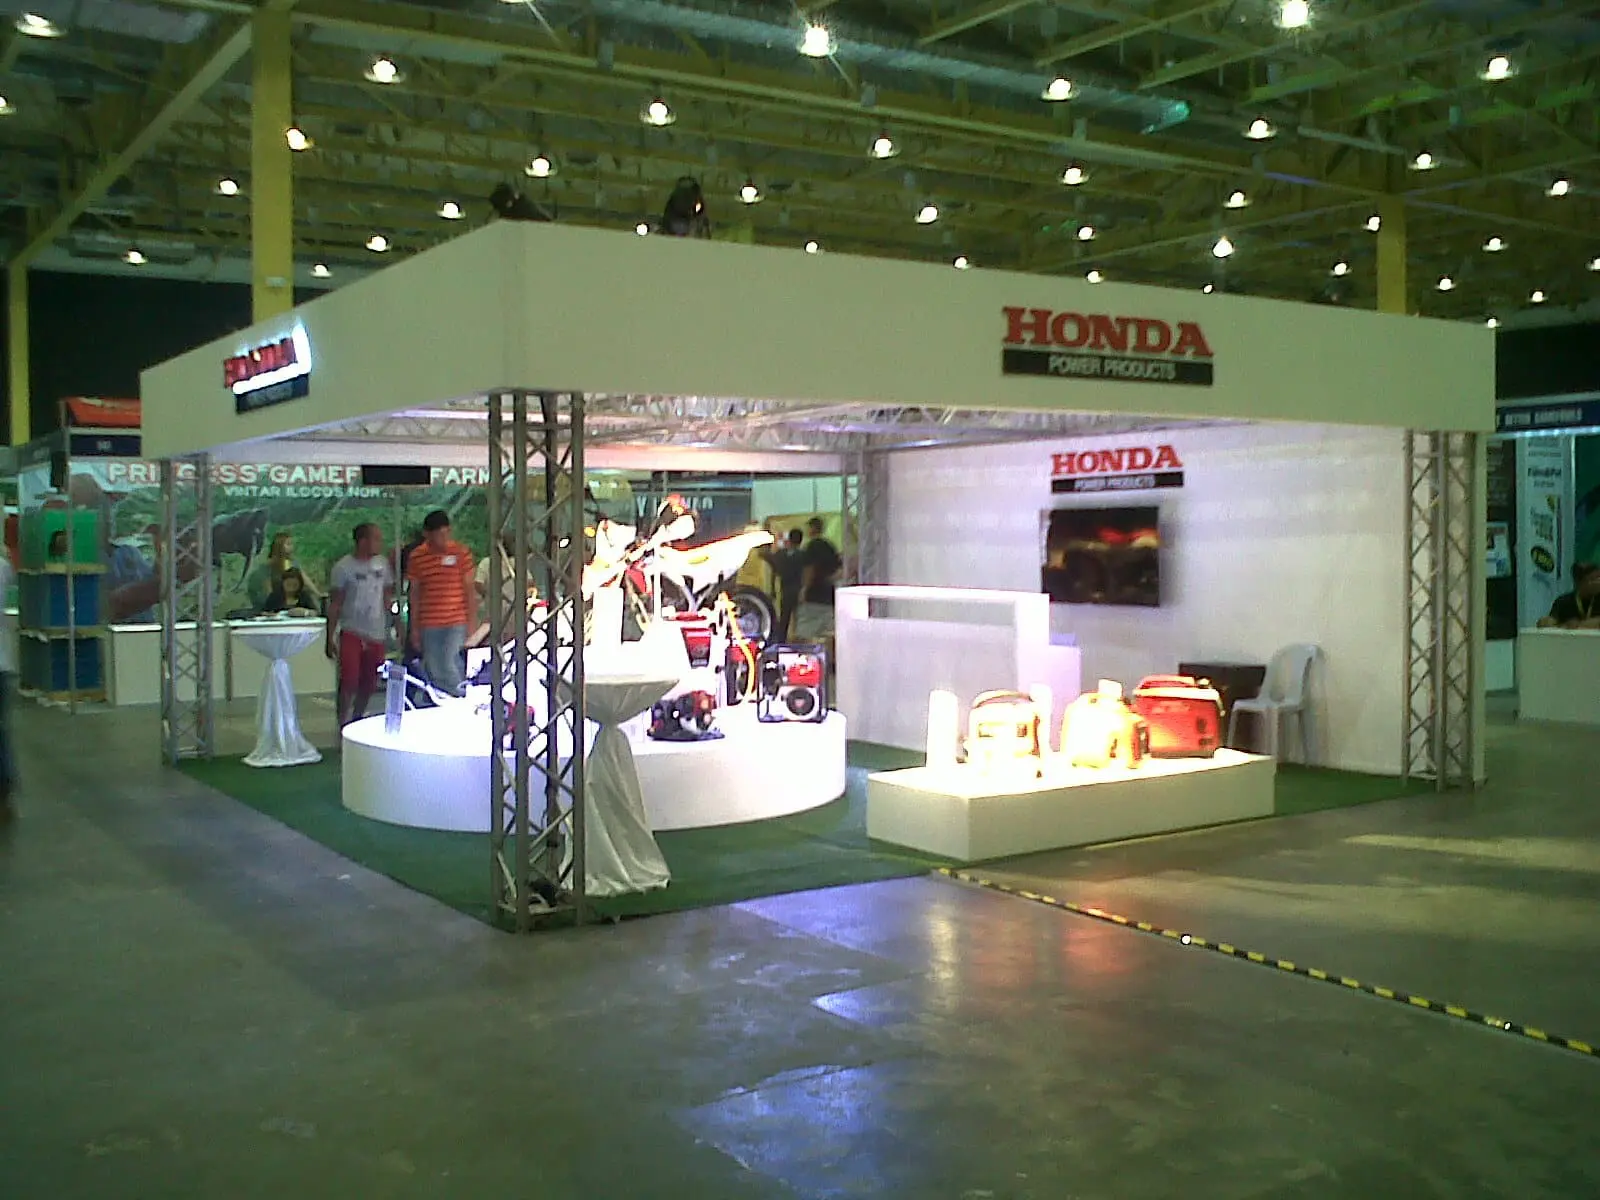
4) Build an Efficient Layout (tiny space, big output)
- U-flow or L-flow so staff never cross paths.
- Hot zone (cooking) away from customer reach; cold zone (cashier/pick-up) in front.
- Hidden storage under counters; quick-clean surfaces; cable management; grease/exhaust compliance where required.
5) Permits & Basic Compliance (do it right from day one)
- Business registration: DTI/SEC → BIR → Mayor’s/Barangay permit.
- Mall/lessor approvals: kiosk drawing, materials list, electrical load, fire extinguisher type/placement.
- Health & safety: sanitation (for F&B), PPE and fire signage as required by site management.
6) Money Plan (simple, not sloppy)
Skip outdated capital numbers—costs change by mall and equipment. Instead, use a budget worksheet:
- Kiosk shell & fit-out: carpentry, electrical, counters, stainless, plumbing (if needed).
- Equipment: fryers/grillers/steamers/blenders, smallwares, POS.
- Signage & branding: fascia, menu board(s), lightbox, wraps, window decals.
- Permits & deposits: documents, construction bond, advances as per lessor.
- Opening inventory & contingency: 10–15% buffer.
Unit economics (quick check):
- Target COGS ≤ 35%, labor 15–20%, rent as negotiated, and push for >10% net after all costs.
- If a product can’t hit the margin, drop it from the board.
7) Launch & Market (keep it simple, repeatable)
- Pre-open: teaser posters on the lightbox (“Buy 1 Take 1 Opening Day”).
- Opening week offer: bundle your hero product + drink at a clear round price.
- Reviews & UGC: table-tent QR for quick feedback; repost real customers.
- Local ads: pin Google Business Profile, run small radius ads with your menu image, not paragraphs.
8) Avoid Common Pitfalls
- Cluttered menu boards (too many items = slow lines, low profit).
- Low-contrast signage (pretty colors, unreadable from 10 meters).
- Borrowed capital without runway (keep debt light until the unit proves itself).
- Untrained staff (speed + consistency beat “perfect” décor).
9) Franchise or DIY?
If you go franchise, check PFA/AFFI membership, talk to current franchisees, and read the financials line by line. If you go DIY, buy professional signage and menu design once—then standardize.
10) Your Signage Build Sheet (hand this to your fabricator)
- Front Fascia Logo Sign: acrylic/metal, backlit or front-lit.
- Main Menu Board: illuminated lightbox or digital screen (portrait or landscape).
- Promo Lightbox: snap-frame or magnetic face for monthly swaps.
- Counter/Side Wraps: printed laminate, scratch-resistant.
- Price Decals / Add-ons: small, near point-of-sale.
- Compliance & Safety Signs: extinguisher ID, no smoking, emergency exit arrows.
- Electrical details: single switch master for all lighting, hidden drivers, service access.
(M&G Global Ads can fabricate this entire set—design, production, and install.)
Quick FAQ
Is acrylic or metal better for the fascia?
Acrylic is sleek and budget-friendly; metal adds durability and prestige. Most kiosks use acrylic with LED lighting for impact and cost balance.
Back-lit menu or TV?
Back-lit prints are low-maintenance and bright. Digital screens are flexible for price changes but need good content and maintenance.
How many photos on the board?
3–5 max. Show only hero products with clear, large prices.
Call to Action
Ready to build a kiosk that looks premium and sells fast?
M&G Global Ads, Inc. designs and fabricates fascia signs, menu lightboxes, counter wraps, and full safety signage—installed and mall-compliant.
Message us with your kiosk size and a draft menu; we’ll send a quick layout and quotation.
📞 Call us now: 0917-881-2800
📧 Email us: info@mgglobalads.com